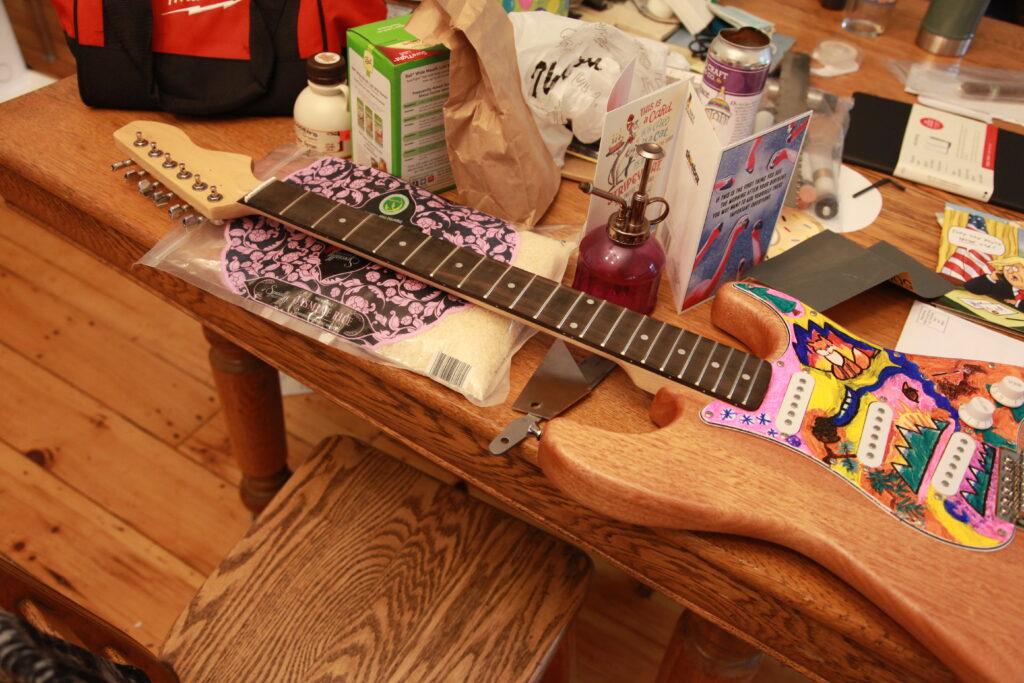
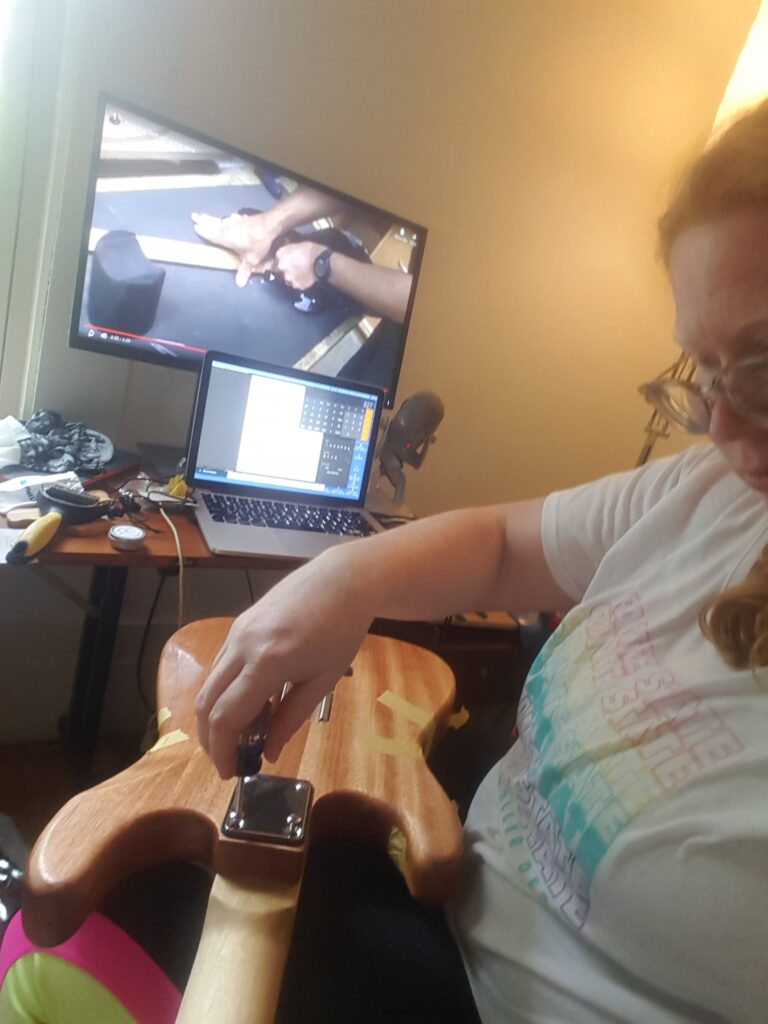
I went back in and made sure at this point to finish and complete everything that I needed to do with the Fretboard as well. I had the 4 mm Allen wrench, and had been tweaking the truss rod per the previous session! As you can see from my previous post I used the bag of rice as my holder. I took out my fret rocker and wanted to make sure my guitar neck for high spots, and I began to spot level and had my rice bag on hand :-D.
I used my fret leveler that I had purchased from Amazon and worked through with my fret rocker and my fret leveler making sure to only push forward.
I then used my 1500 grit sandpaper to polish the fretboard and I used mineral oil to clean and then Feed n Wax to polish the fretboard.
Skills Required: Patience, Persistence and Precision
If I was to do this again, I would figure out the exact order it was best to do it all in! I think there was a bit of going back and forth figuring out what to do where in this whole process so that could have certainly been improved.
Now for this, I had yet to get my feeler gauges so I headed to my local auto shop to get what I needed, with those in hand I was able to begin the process. I also moved my guitar to another location to do all of the necessary additional work – my very messy kitchen table! I found the bag f rice to be invaluable in doing the finishing work – as an alternative to a sandbag or anything of the like.
I did have to tighten the truss rod and making the right adjustments.
I then had to file down the grooves for the string height. I found a challenge with the first. I didn’t have a diamond file, so I tried to use my fret filer on the first string (for better or for worse). I then used the sandpaper around the string method for the rest of the nut.
Skills Required: Patience and precision
If I were to do this again, I would have had more tools set aside to proceed with these processes. I always like precision, but with my lack of tools I just couldn’t be as precise as I would like. Having more time for the processes would have been valuable as well.
I adjusted the saddle positions on the bridge using my Phillips head and a tape measurer for the first saddle. This process was quite easy following the pattern in the video.
I then installed the strings. This was very exciting for me, as I have an acoustic guitar at home, but honestly have been very afraid to make any significant changes to the strings or stress them out too much, because believe it or not – I have never strung a guitar before.
I found the string installation process a little tedious making sure to hold the strings correctly on install, but once I did it the first time following the instructions I was rolling!
Required Skills: Following precise instructions, tool use
I thought these videos and this process was relatively simple and straightforward. Although winding the strings took some practice, once I had it down I really had it down.
The rest of my 2nd day was basically adding the additional components and screwing everything in (with some creativity!) I’m posting my update video, as I took less pictures at this point in the process (I was focused on the build). However, I surely did do a lot that day! Most of this process was relatively simple.
I started with the bridge, and started using my paste wax to assure an easy drive process.
For the claw installation, I found that to go okay (minus again losing my wiring connection, but not to fear I fixed it!) I did end up scratching the back of the guitar when using my needle nose pliers (jewelry sized, I likely just needed to grab a larger pair) to put in the springs – so that was a bit of a bummer, but the motto of this summer is simply – “Keep Calm and Carry On!”
Having 3D printed a violin before, I found the tuning machines easy to install (I had used guitar tuning machines in the violin). The strap buttons also fell into the pretty easy to install category.
The neck thankfully just required a top slide in, and it was a snug, but okay fit.
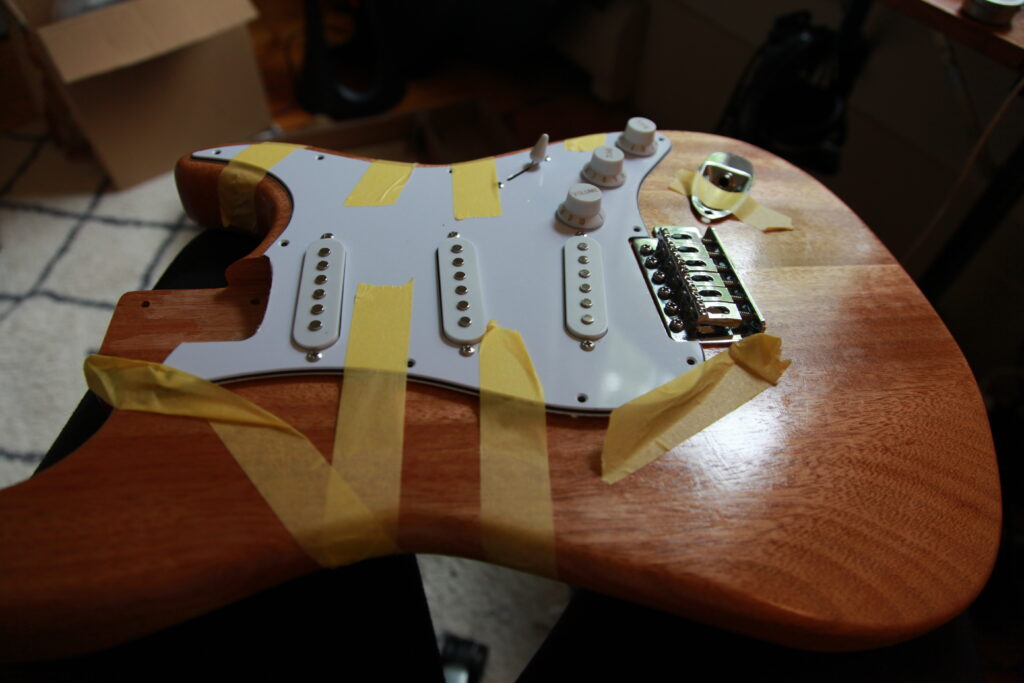
Finally, I colored. I sanded the pick guard just lightly, and then using some sharpies I colored away. I didn’t coat the pick guard until later as I had run out of time, and hadn’t yet purchased anything to coat it.
Skills Required: Familiarity and use of power and hand tools, creativity
If I could do this over, I would go back and maybe plan out the pickguard a bit more in terms of design (brown is hard to see!). I would also get a larger needle nose plier to stretch out the springs (I simply didn’t know I wouldn’t have enough surface area to hold the springs well).
Following all of that Tru-Oil came some soldering. There were three electronic wires to Solder (2 to the input for the 1/4″ TS cable) and then one additional wire. This part was challenging as my solder kept seemingly coming out from one of the holes. I followed the below process.
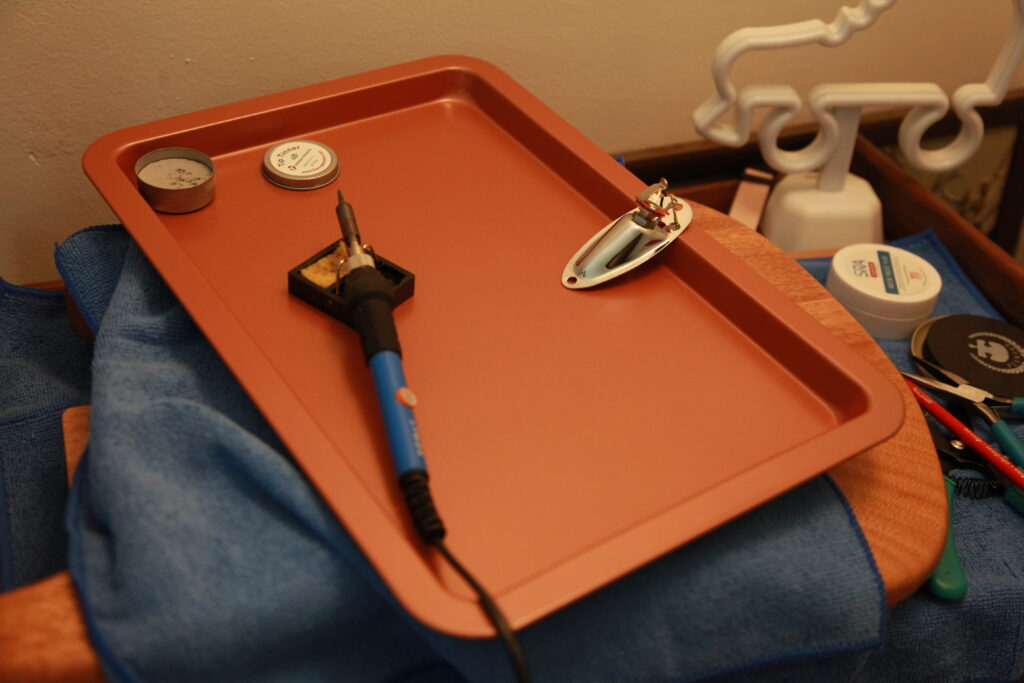
Prep soldering space wet sponge, place wood and microfiber clothes below guitar. Place all soldering equipment onto the sheet pan
Strip wires a bit further for more soldering access
Place rosin on pencil and apply to placed wires
Clean soldering iron in tip cleaner
Begin to apply solder to the three required wires
Let everything cool and put away several times (and take back out to repair)
I did struggle with making successful connections and ended up using my air solder remover several times in the process, but all in all the connections were made and my electronics worked. I found being generous with the solder tended to help my cause.
To check the connections, I did run through and check the audio using the methodology of finding something to tap on the electronics components and using a cheap pair of earbuds to test the connection with the amplifier (which worked!). Again the soldering not staying in place was my biggest challenge, but with time and patience, I perfected my connections.
Skills Required: A Steady Hand, experience with soldering did come in handy (removing solder), Patience, Listening Skills
Changes I would make, would I would go about also teaching the process of removing solder, as I ended up doing it a few times, it’s a useful skill to add and came in extremely handy for me.
Soldering set up
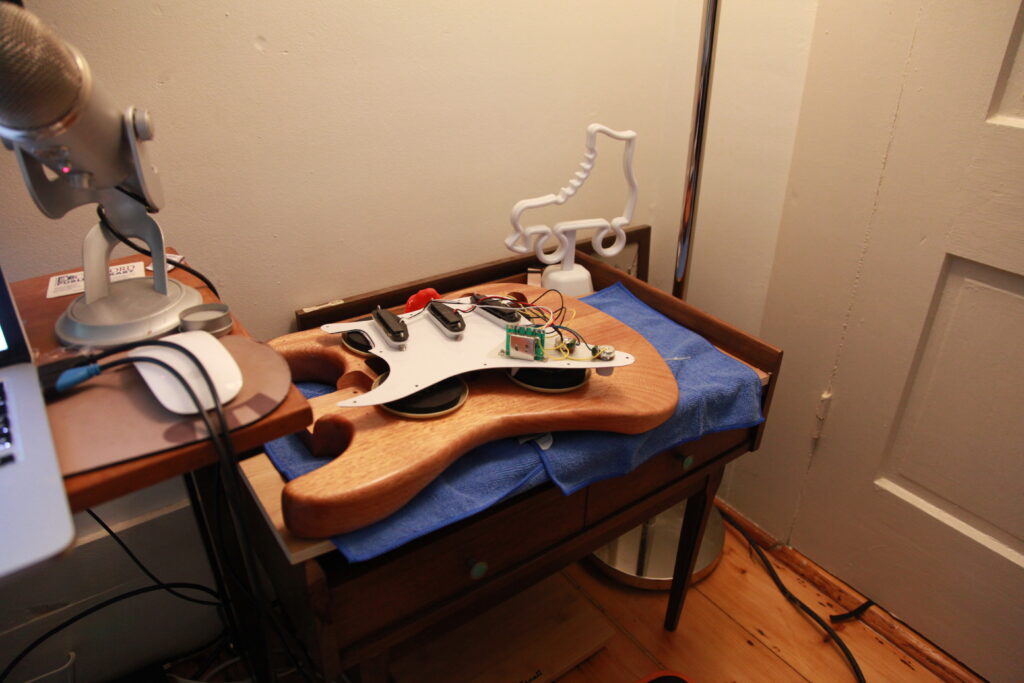
Working on electronics for the guitar
Electronics taped down securely with new parts screwed in!
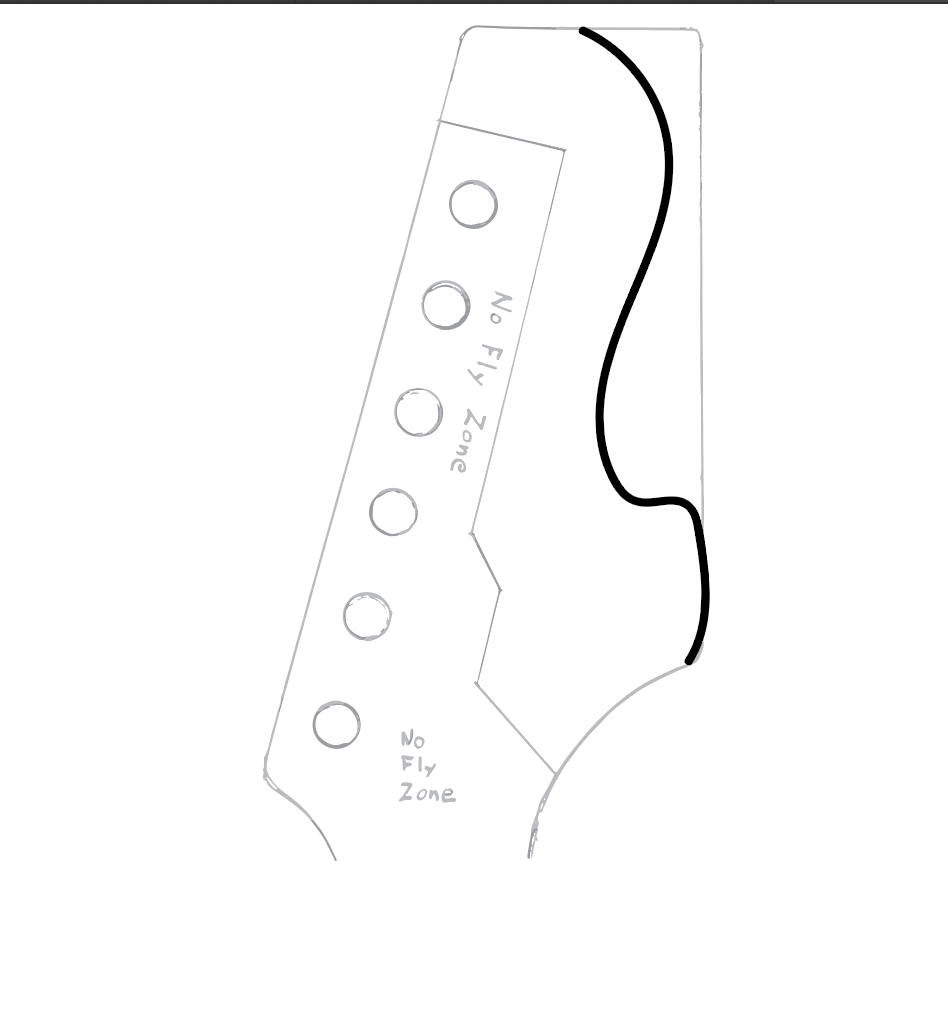
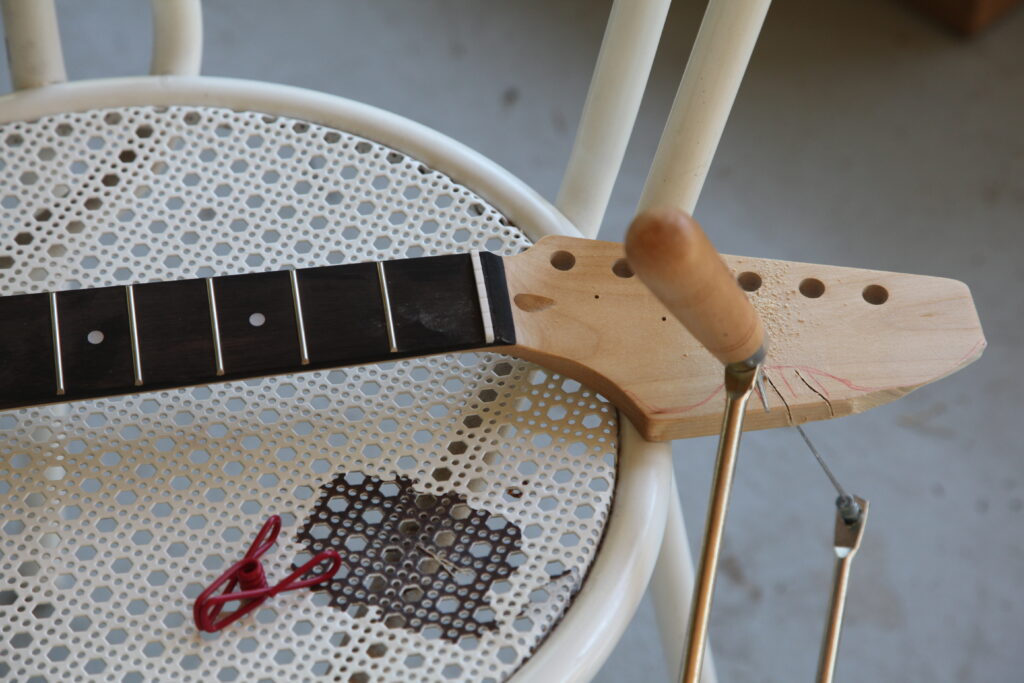
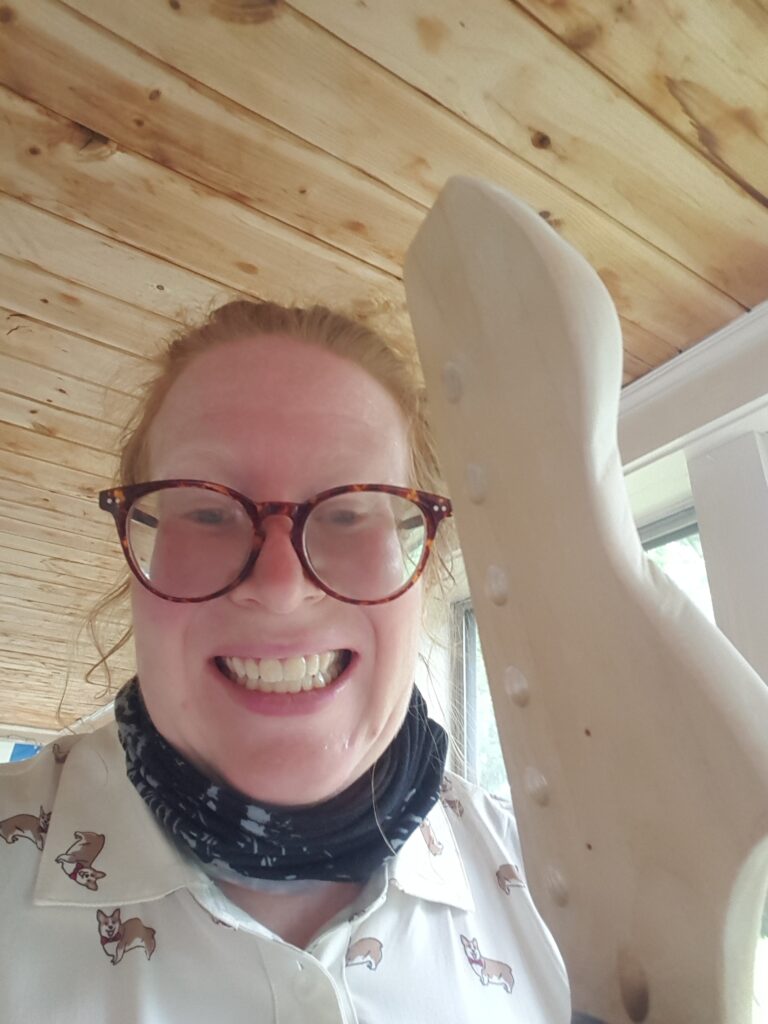
For the headstock design, I went through the tutorial designing several iterations using Adobe Illustrator instead of drawing on paper (which can be seen on my videos page). However, I don’t have an active printer at home, so I decided to draw on the headstock sticking to a simplistic design, I did clamp down the piece once my partner, Taylor, and I located a c-clamp. I didn’t have a good work surface for this, so as you can see I made a vintage metal chair work for me. Partway through I managed to break the blade as well, so I ended up purchasing additional blades for the coping saw which I borrowed. I did cuts in as you can see, so as to ease up on the release of the extra wood.
I spent much, much time sanding once the piece was cut out to make sure it looked as good as possible, which took a few hours because there were cuts into the wood from the blade of the saw, and I wanted this to look as even as possible.
If I had done this differently, I would have loved to have access to machinery to make a unique design, but for being hand done, I did find my design to come out quite nicely! A printer that works and is easy to access would have helped as well to allow for experimentation. I did find my digital route to work for my purposes though and that gave me a good foundation on how to proceed.
The first image is my simplistic Adobe Illustrator design, which looks quite similar to my actual body sketch!
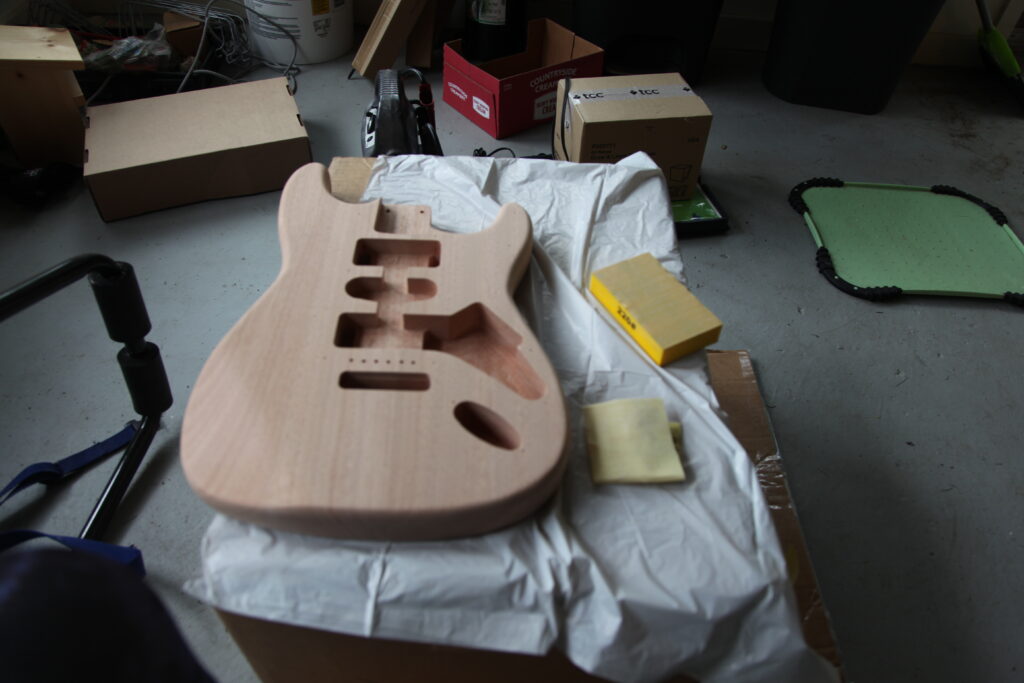
I began these steps in the process of guitar building with sanding the guitar body. I started with a 220 grit sandpaper working with both a sandpaper block and sandpaper (folding it into thirds) per the recommendation. I did a grain raise with a wet paper towel. I used 320 grit following the 200 for another sand and grain raise and then one more 400 grit sand and raise. (remembering to keep with the grain of course).
Now once I had sanded the body and some on the back of the neck too following the same instructions.
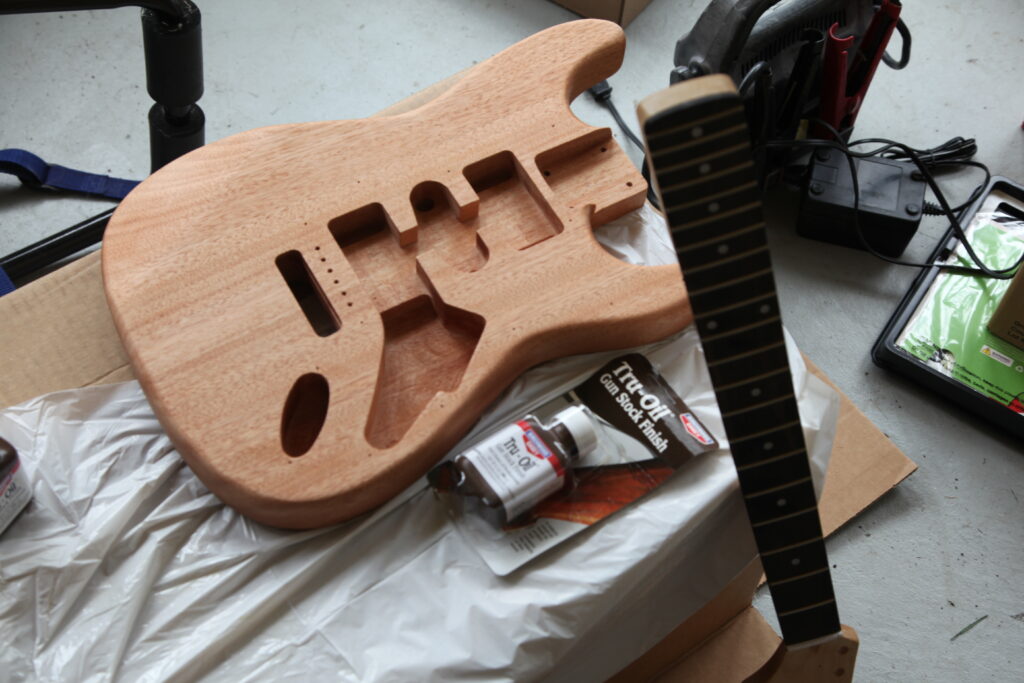
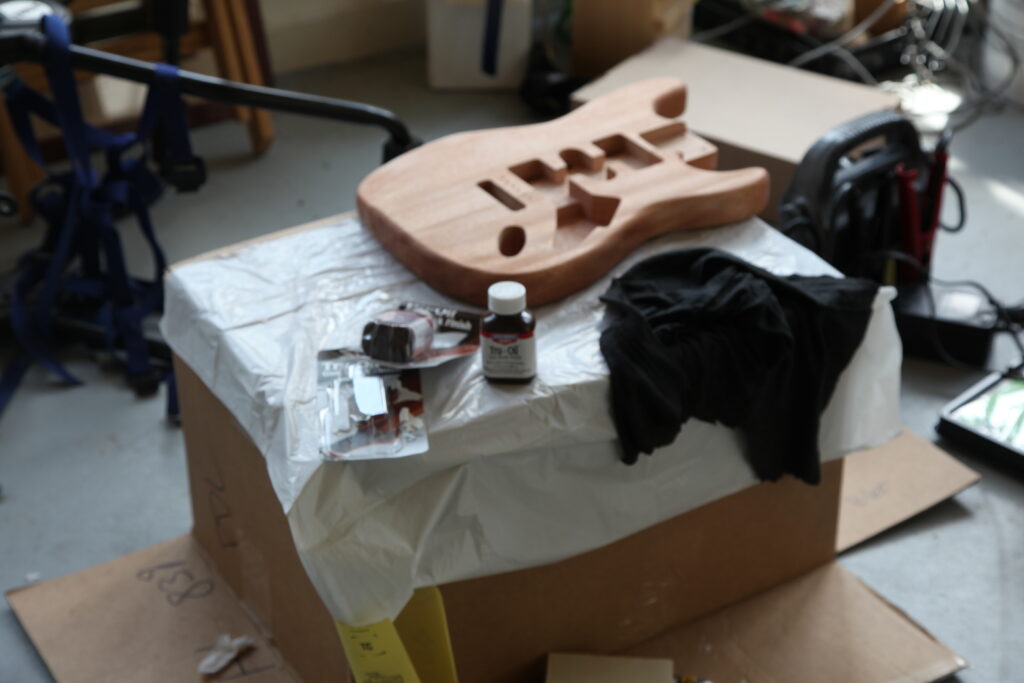
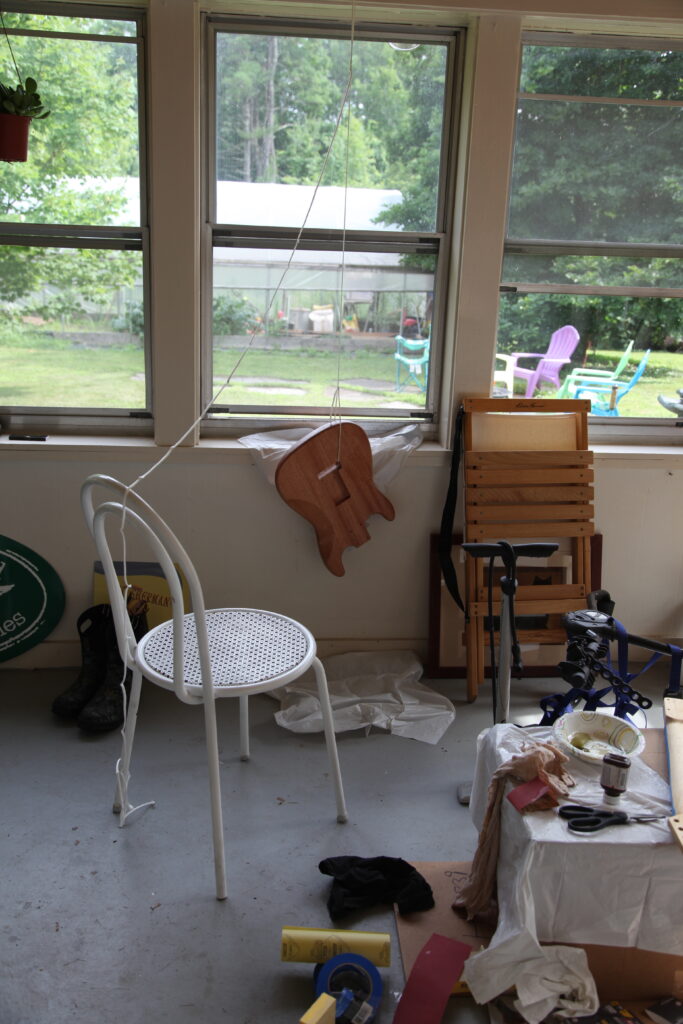
I began the Tru-Oil application (a Linseed oil based product). I was sure because of it’s exothermic properties to keep my rags flat from one another. Applying Tru-Oil was the most time-consuming part of the process and I used approximately one entire week to do a really nice finish. I didn’t use gloves the entire time for applying Tru-Oil so my hands were quite sticky I will say! I began to let the Tru-Oil with an initial application to the body of the guitar. At first, I started the True Oil application on top of a box covered with a plastic bag. I later found some camping utility cord and hung the guitar on that for the final coats (which worked out quite nicely!)
I began the filling (Swarf) technique, and scuff sanding with my 220, 320, 400, and 600 grit sandpaper, making sure to wipe excess off with paper towels across the grain.
I made sure to seal the pockets as well with a very light coat of Tru-Oil.
I had 1500 grain for finish coats and did the wet sandpaper application and followed by an application of Tru-Oil. I’m not sure exactly how many coats I applied, I didn’t follow through with the naptha/steel wool/polishing due to time.
I then covered the neck fretboard with painters tape and did a few applications following the protocol above, but far less than I did for the body to give it more of a satin finish.
Skills Required:
Patience, Consistency, Documentation Ability, Grit (like the sandpaper)
I honestly wish I had had more time, as that could have improved the process immensely for me. When it comes to repetitive tasks, I’m a bit of a perfectionist although as you can see by my organization in the photos below, I’m also a participant in organized chaos. If I had a larger variety of materials (sandpaper) I believe this process could be improved as well. I would highly recommend journaling (I did this for this portion) to keep track of where you are in the process.
Sanding Process begins
Tru-oil application first few coats
Continuing Tru-Oil application
Hanging guitar body and a messy, Tru-Oil existence.
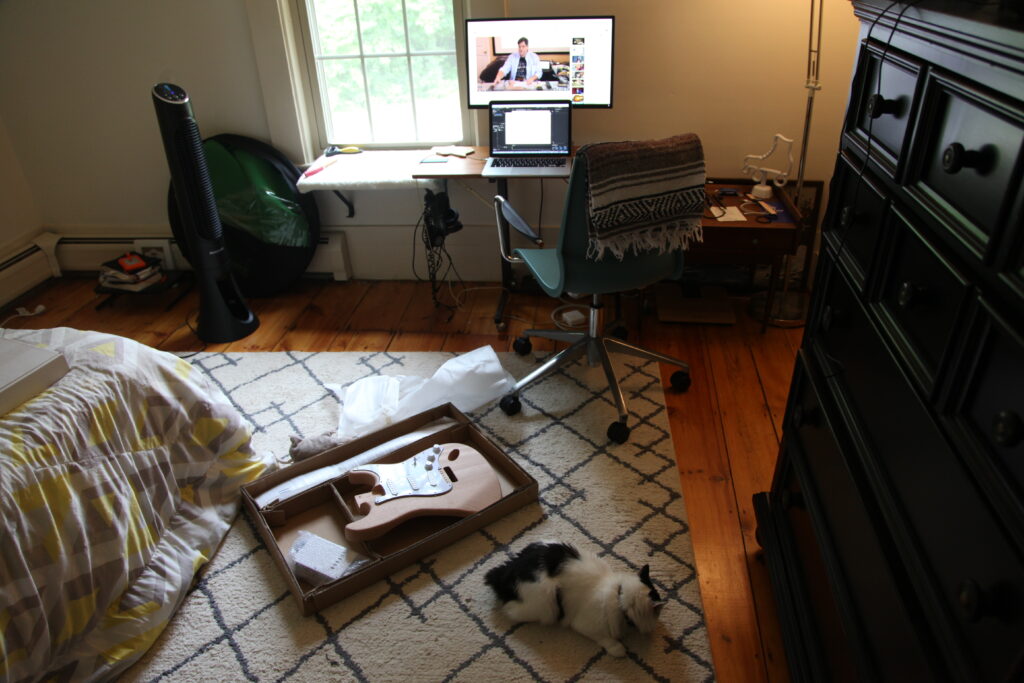
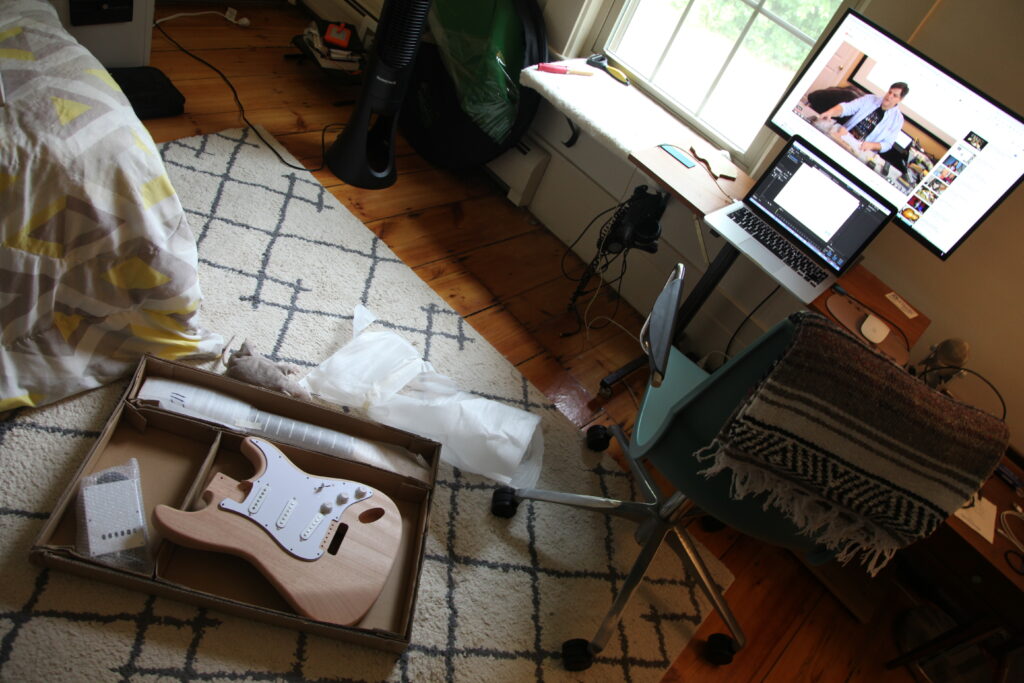
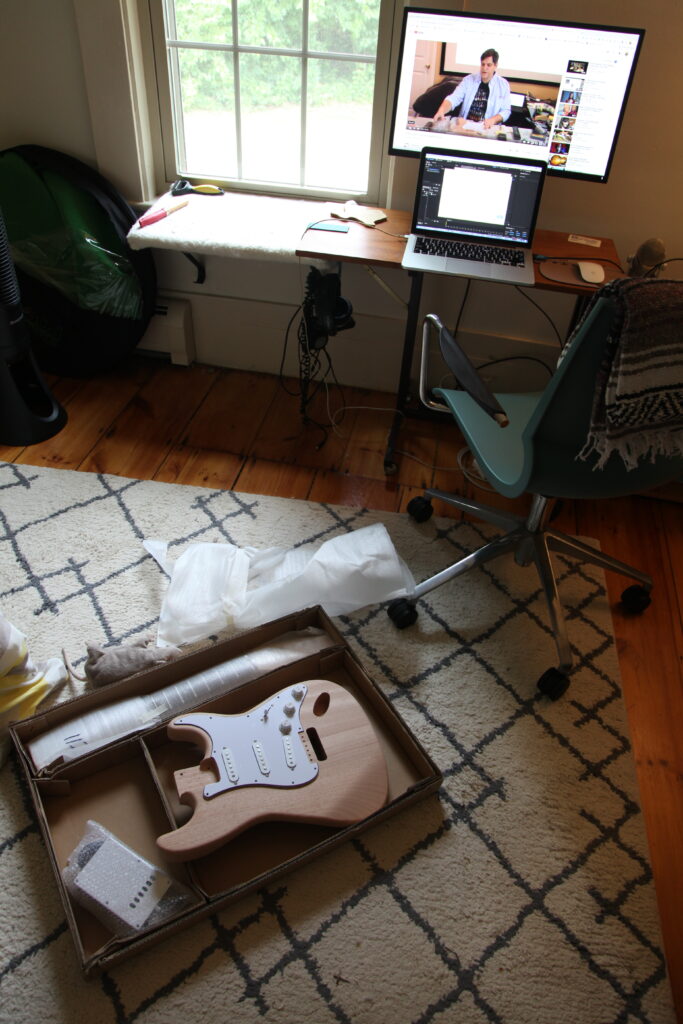
The first part of the electric guitar kit program was unboxing the kit and beginning with a video tutorial on initial preparations for the guitar body. I watched the video STEM Guitar Kit Assembly Video (first 4 minutes). It was in this video that Tru-Oil was mentioned, and I began my great hunt for Tru-Oil (to be found in the gun aisle at Walmart, which I can honestly say I never entered until my search for Tru-Oil began).
I took the unboxing one step at a time and left the majority of the things I didn’t need in the few boxes I had until it came time to use them. The first item to leave my work area and move to the porch was the guitar body, for the beginning sanding work. I think if this video had been broken into portions, it would have been helpful, although it was recommended to only watch the first few minutes (I was tempted to watch further).
I then went on a hunt for items. A friend of mine lent me some items (drill and drill bits, a screwdriver set, coping saw, and a 10-millimeter socket wrench). Throughout the next few weeks, I made several trips visiting or ordering from the following list of stores with everything I recall purchasing (it all came in handy!): from Amazon.com (soldering rosin, wirecutter, small needle-nose pliers, wire stripper, fret leveler, furniture slides, Frogtape, and soldering iron tip cleaner), Ace Hardware (various sandpapers, standard painter’s tape, paste wax) Lowes (coping blades because I broke one, and mineral oil) Family Dollar (permanent markers, microfiber cloths, and a cheap baking pan for soldering), JoAnn Fabrics (sparkly Color pour Prism Varnish and a paintbrush) , O’Reilly Auto Parts (feeler gauges), and Aubuchon Hardware (Feed N Wax) for my additional guitar building needs. I had on hand rags, a piece of wood, a c-clamp, trash bags, a soldering iron, camping utility cord, additional screwdrivers, and a tape measurer.
It was at this point I dreamed of having a garage or work area to do this work – but alas, I do not where I live currently, and due to the fact that I was doing this without access to my work Makerspace at the time, I would be working completely from my home to complete the project. My workplaces became my guest bedroom and my porch (I am so happy I have a porch).
Skills Required:
Listening, Locating Storage, Following Instructions
Unboxing electric guitar kit with cat for comparion