
Following all of that Tru-Oil came some soldering. There were three electronic wires to Solder (2 to the input for the 1/4″ TS cable) and then one additional wire. This part was challenging as my solder kept seemingly coming out from one of the holes. I followed the below process.
- Prep soldering space wet sponge, place wood and microfiber clothes below guitar. Place all soldering equipment onto the sheet pan
- Strip wires a bit further for more soldering access
- Place rosin on pencil and apply to placed wires
- Clean soldering iron in tip cleaner
- Begin to apply solder to the three required wires
- Let everything cool and put away several times (and take back out to repair)
I did struggle with making successful connections and ended up using my air solder remover several times in the process, but all in all the connections were made and my electronics worked. I found being generous with the solder tended to help my cause.
To check the connections, I did run through and check the audio using the methodology of finding something to tap on the electronics components and using a cheap pair of earbuds to test the connection with the amplifier (which worked!). Again the soldering not staying in place was my biggest challenge, but with time and patience, I perfected my connections.
Skills Required: A Steady Hand, experience with soldering did come in handy (removing solder), Patience, Listening Skills
Changes I would make, would I would go about also teaching the process of removing solder, as I ended up doing it a few times, it’s a useful skill to add and came in extremely handy for me.
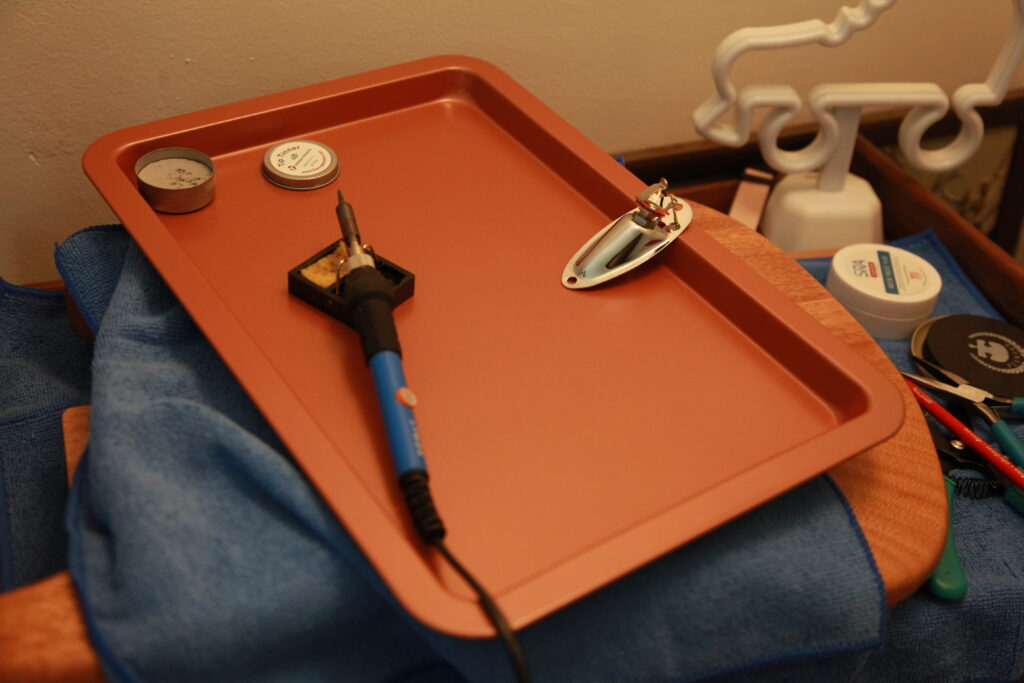
Soldering set up 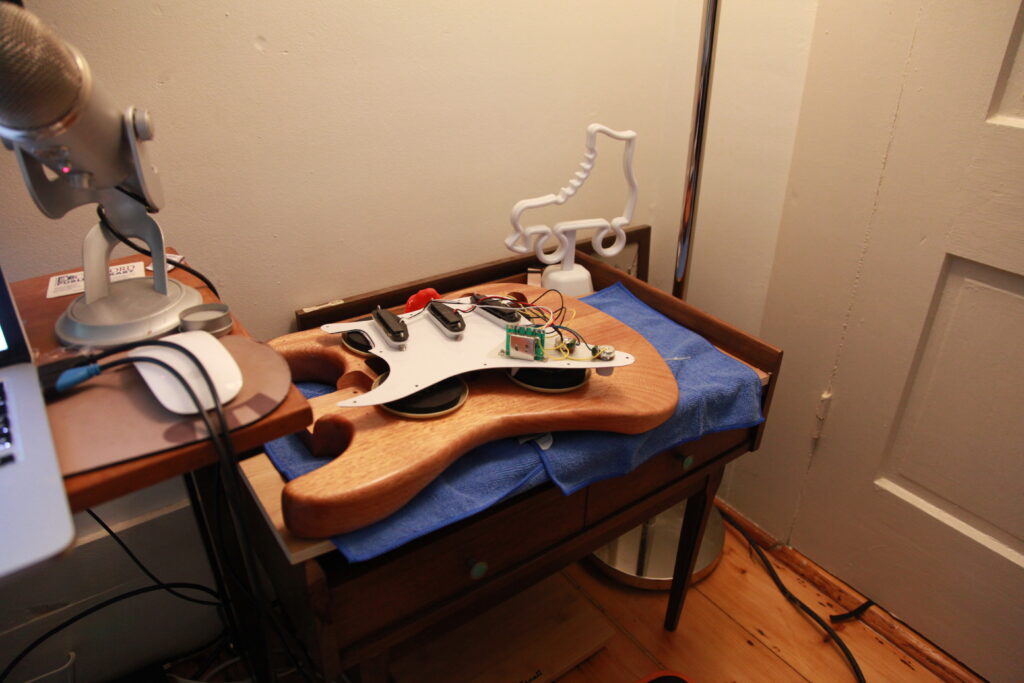
Working on electronics for the guitar 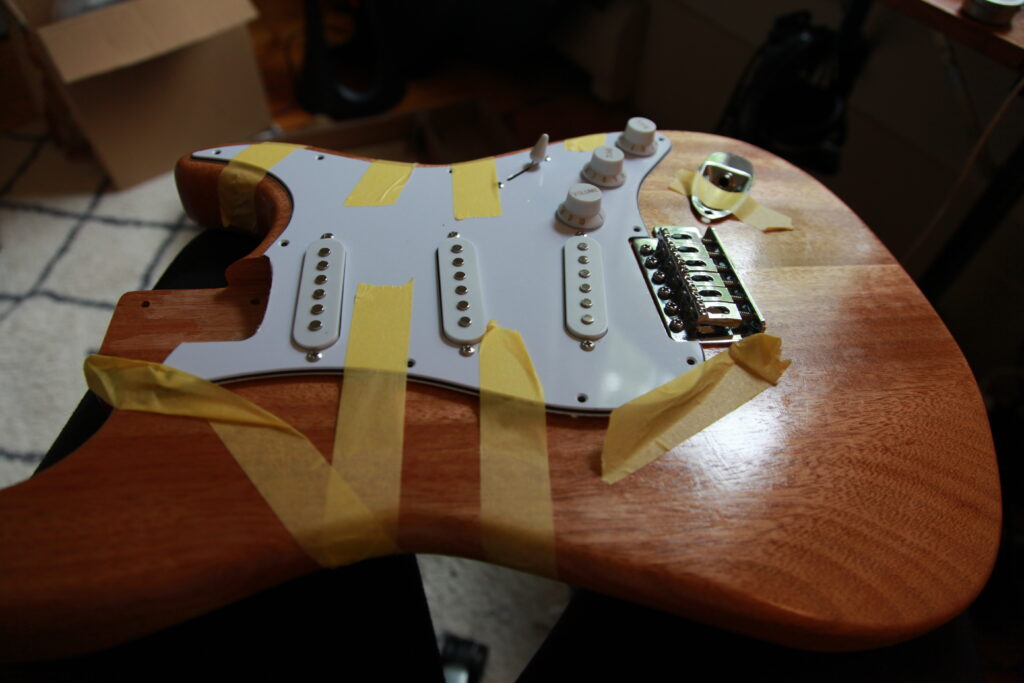
Electronics taped down securely with new parts screwed in!
