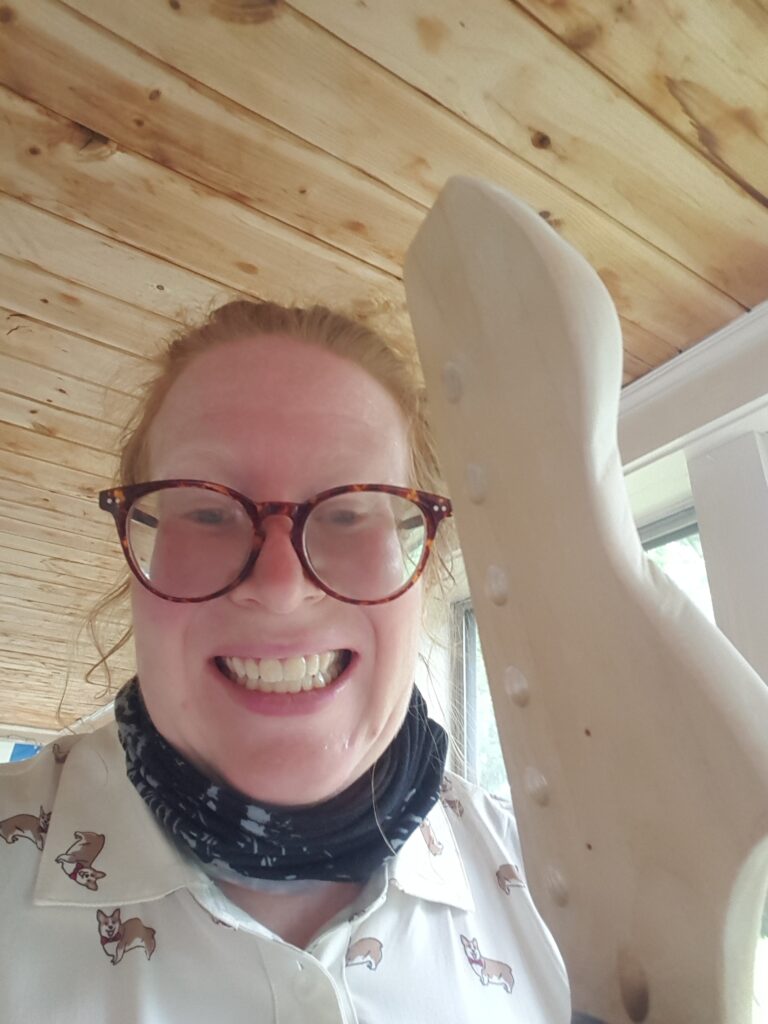
For the headstock design, I went through the tutorial designing several iterations using Adobe Illustrator instead of drawing on paper (which can be seen on my videos page). However, I don’t have an active printer at home, so I decided to draw on the headstock sticking to a simplistic design, I did clamp down the piece once my partner, Taylor, and I located a c-clamp. I didn’t have a good work surface for this, so as you can see I made a vintage metal chair work for me. Partway through I managed to break the blade as well, so I ended up purchasing additional blades for the coping saw which I borrowed. I did cuts in as you can see, so as to ease up on the release of the extra wood.
I spent much, much time sanding once the piece was cut out to make sure it looked as good as possible, which took a few hours because there were cuts into the wood from the blade of the saw, and I wanted this to look as even as possible.
Skills Required: Patience, a Steady Hand, Creativity, Design Translation, Iterative Design
If I had done this differently, I would have loved to have access to machinery to make a unique design, but for being hand done, I did find my design to come out quite nicely! A printer that works and is easy to access would have helped as well to allow for experimentation. I did find my digital route to work for my purposes though and that gave me a good foundation on how to proceed.
The first image is my simplistic Adobe Illustrator design, which looks quite similar to my actual body sketch!
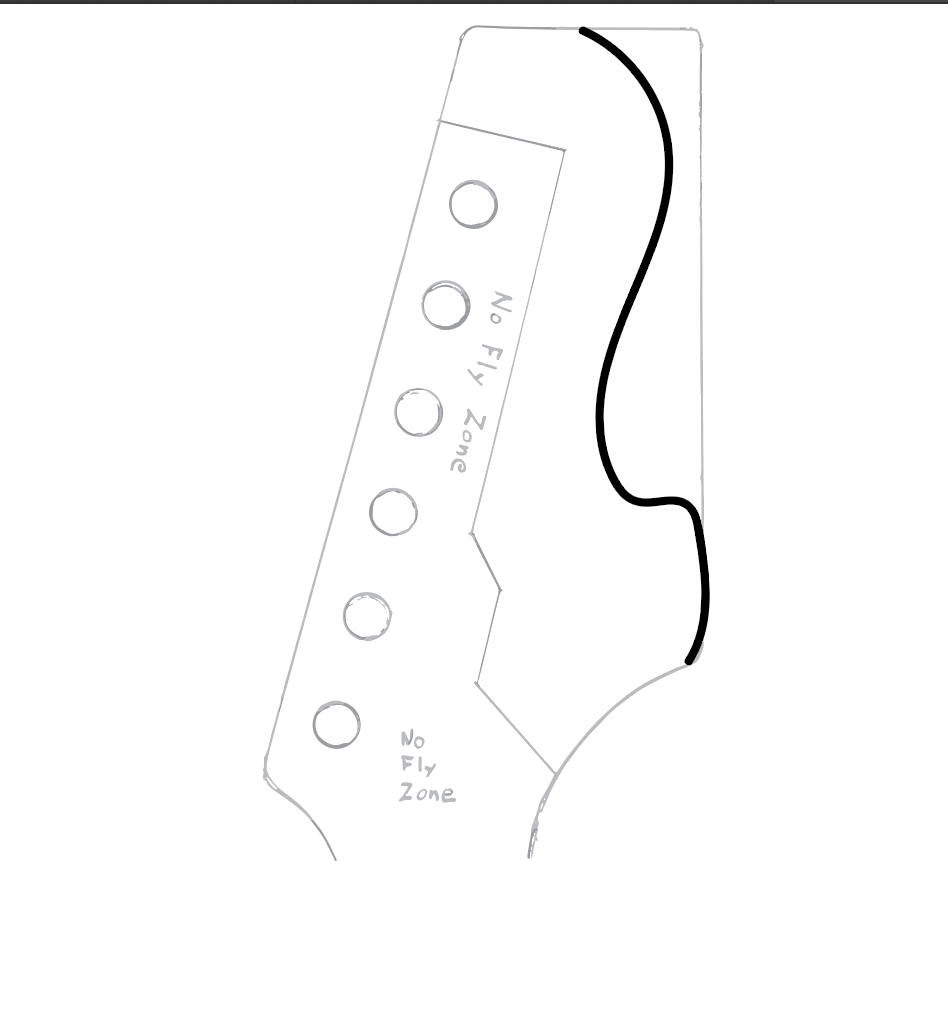
Design in Illustrator
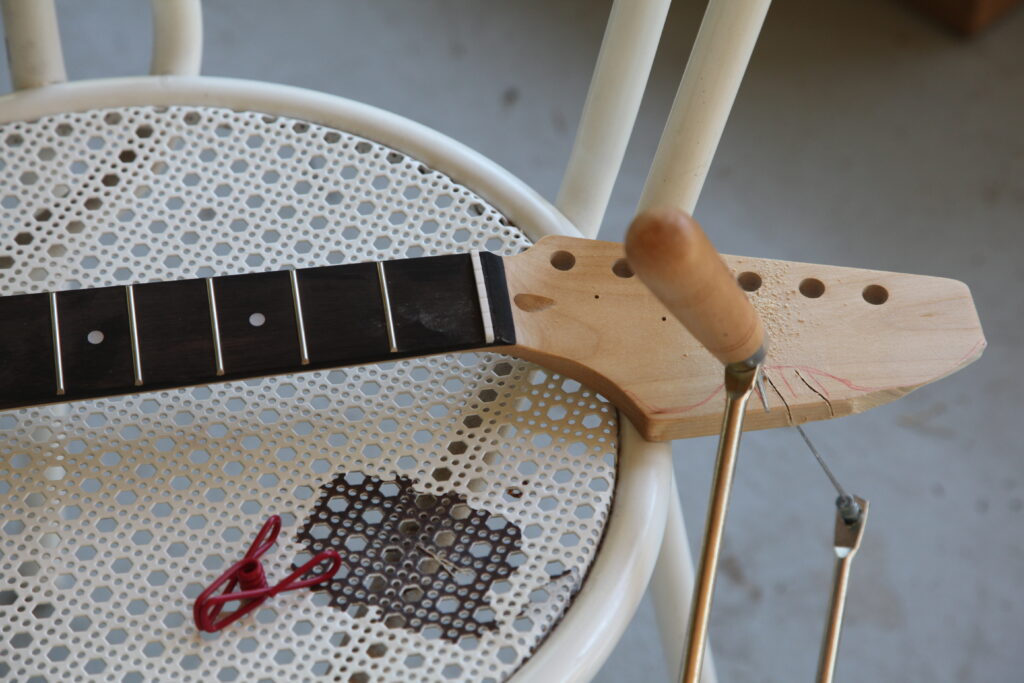
Designing and cutting the headstock