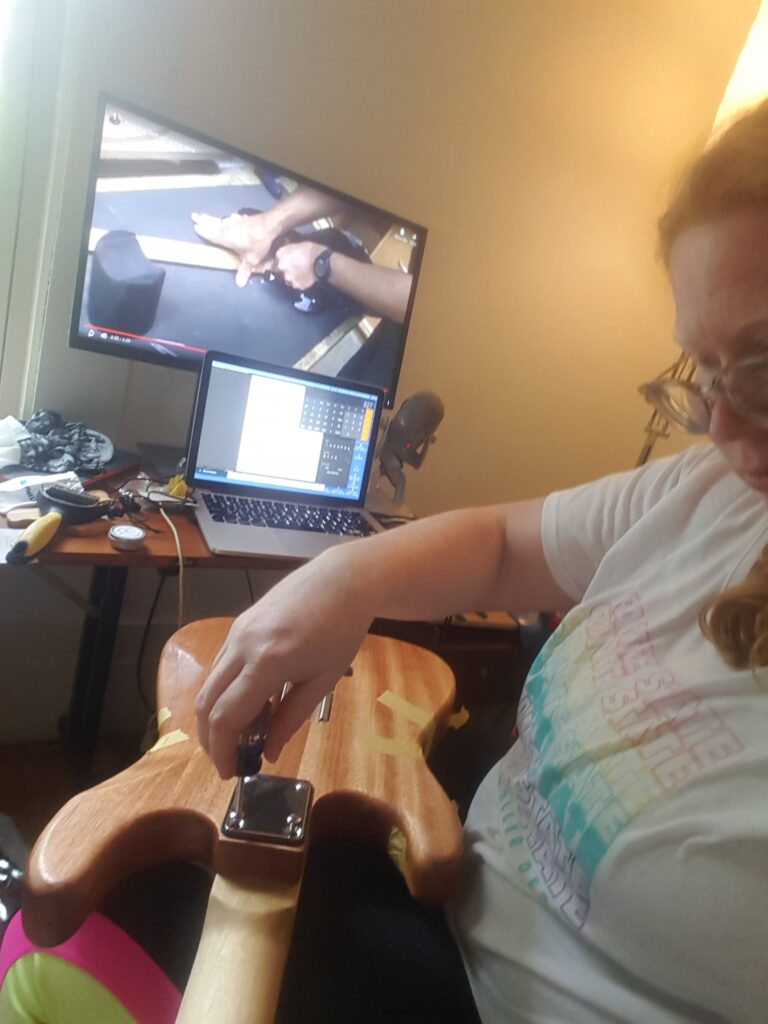
The rest of my 2nd day was basically adding the additional components and screwing everything in (with some creativity!) I’m posting my update video, as I took less pictures at this point in the process (I was focused on the build). However, I surely did do a lot that day! Most of this process was relatively simple.
I started with the bridge, and started using my paste wax to assure an easy drive process.
For the claw installation, I found that to go okay (minus again losing my wiring connection, but not to fear I fixed it!) I did end up scratching the back of the guitar when using my needle nose pliers (jewelry sized, I likely just needed to grab a larger pair) to put in the springs – so that was a bit of a bummer, but the motto of this summer is simply – “Keep Calm and Carry On!”
Having 3D printed a violin before, I found the tuning machines easy to install (I had used guitar tuning machines in the violin). The strap buttons also fell into the pretty easy to install category.
The neck thankfully just required a top slide in, and it was a snug, but okay fit.
Finally, I colored. I sanded the pick guard just lightly, and then using some sharpies I colored away. I didn’t coat the pick guard until later as I had run out of time, and hadn’t yet purchased anything to coat it.
Skills Required: Familiarity and use of power and hand tools, creativity
If I could do this over, I would go back and maybe plan out the pickguard a bit more in terms of design (brown is hard to see!). I would also get a larger needle nose plier to stretch out the springs (I simply didn’t know I wouldn’t have enough surface area to hold the springs well).